A Homeowner's Guide to Winterizing Plumbing in Toronto & at the Cottage
As the crisp autumn air settles over Toronto and the leaves begin to fall, it’s a sure sign that winter is just around the corner. While we’re all preparing for the cold with warmer coats and winter tires, it’s crucial not to overlook one of the most vulnerable parts of your home: your plumbing. A sudden cold snap can lead to frozen and burst pipes, causing extensive water damage and costly repairs. This is true for your primary residence, from a downtown condo to a century home in the East End, and especially for a cottage that might be sitting empty for months.
This guide will walk you through the essential steps for winterizing your plumbing, helping you prevent a disastrous and expensive plumbing emergency this season. Whether you're a homeowner in the GTA or a cottage owner, a little preparation goes a long way in protecting your property.
The Unseen Risk: Why Frozen Pipes Are a Major Threat
It’s a common misconception that pipes burst because the ice itself expands outward. The real problem happens when water freezes inside a pipe, creating a blockage. As more water flows toward the blockage, pressure builds up between the ice and the closed faucet. With nowhere to go, this immense pressure forces the pipe to split open. When the ice eventually thaws, water gushes out from the rupture, potentially flooding your home.
This risk is particularly high in areas with uninsulated pipes, such as basements, crawl spaces, attics, garages, and along exterior walls. Older Toronto homes, especially the beautiful century homes found in many neighborhoods, often have plumbing systems that are more exposed to the cold, making them more susceptible. A burst pipe can quickly lead to a wet basement, structural damage, and the potential for mold growth, turning a simple plumbing issue into a major restoration project.
Your At-Home Winterization Checklist
Taking a few proactive steps before the first deep freeze can save you a significant amount of stress and money. Here’s a simple checklist to follow for your home:
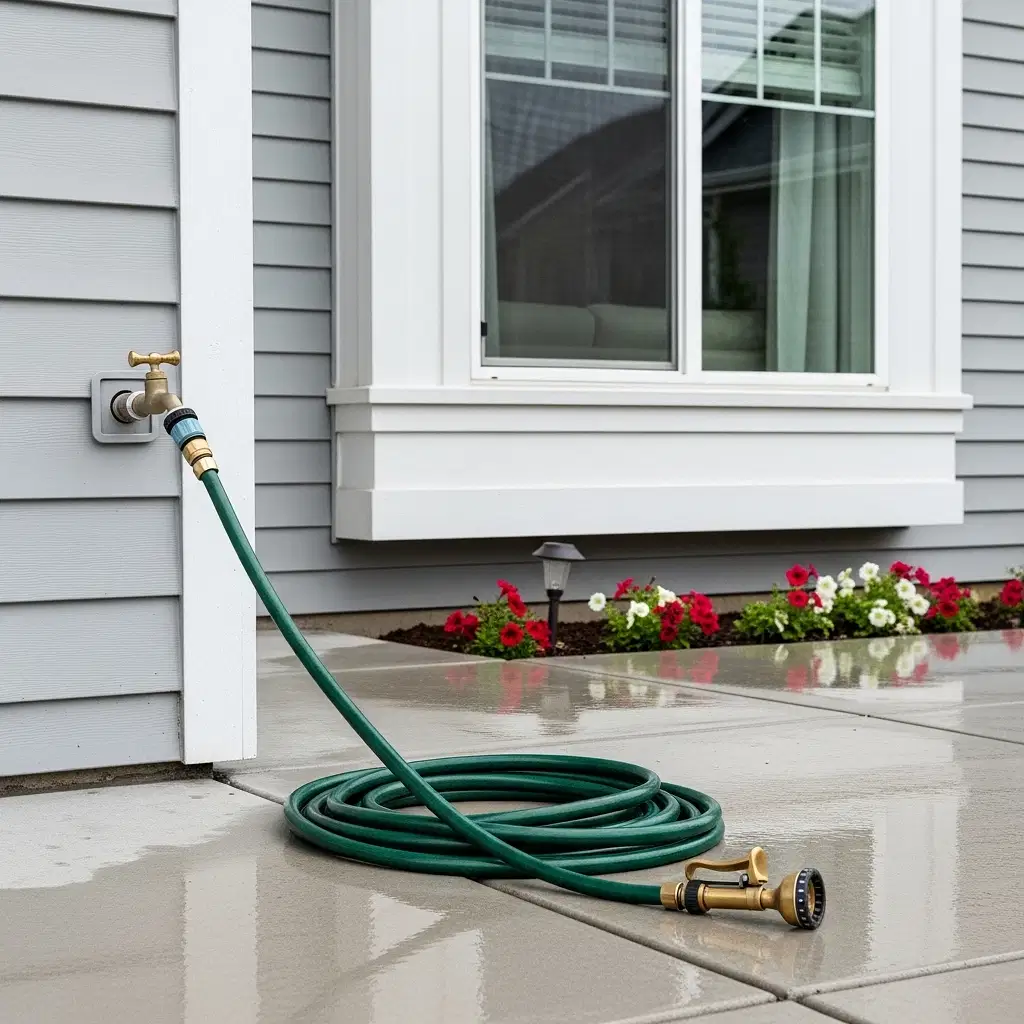
- Disconnect and Drain Outdoor Hoses: This is the most important step. Disconnect all garden hoses from your outdoor faucets (hose bibs). If you leave them connected, water trapped inside can freeze and expand back into the pipe within your wall, causing a break.
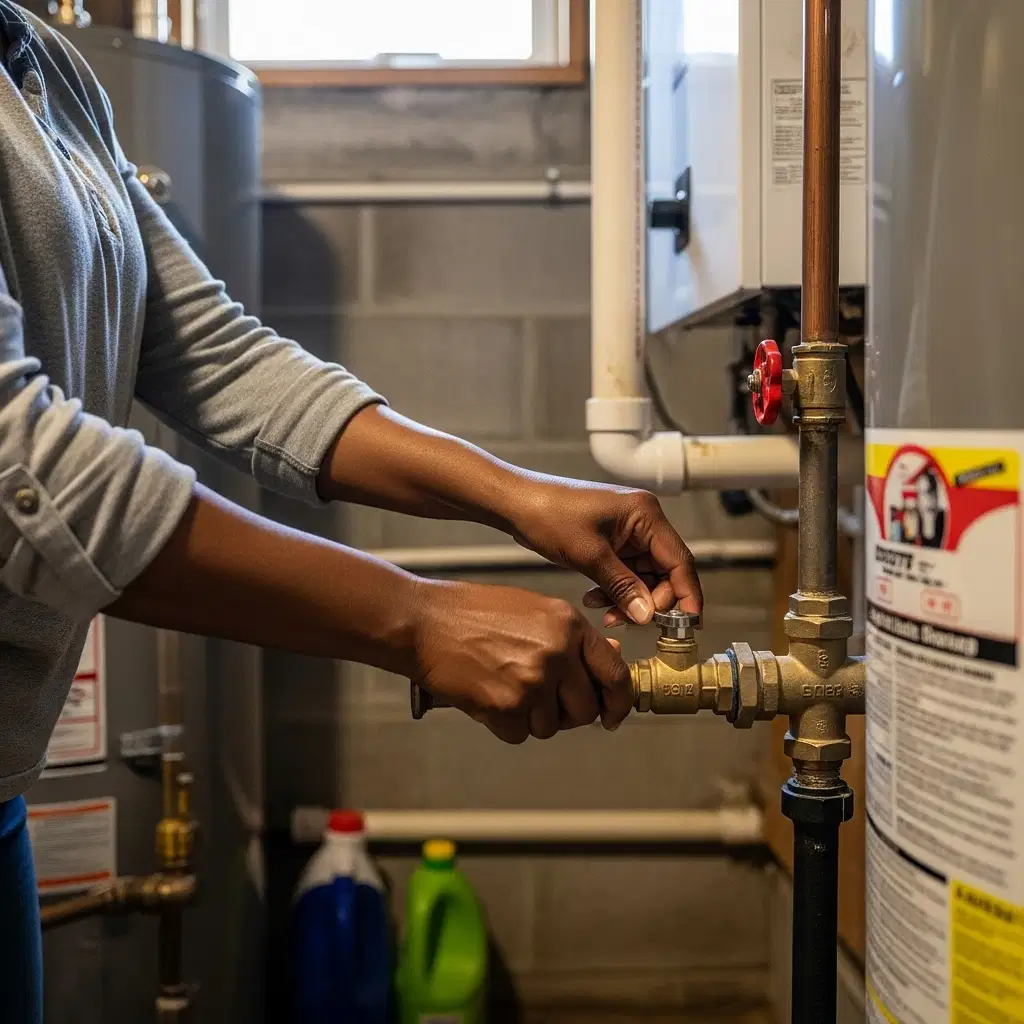
- Shut Off Exterior Faucets: If you have an interior shut-off valve for your outdoor faucets, close it for the winter. Then, go outside and open the faucet to let any remaining water drain out completely. Leave it open for the season.
- Insulate Exposed Pipes: Identify any water pipes running through unheated areas of your home. You can use inexpensive foam pipe sleeves, heat tape, or fiberglass insulation to protect them from the cold. Pay close attention to pipes near the foundation or in cantilevered floors.
- Seal Air Leaks: Check for cracks or holes in your foundation and around areas where pipes or utility lines enter your home. Use caulk or spray foam to seal these gaps and prevent cold air from blowing directly onto your plumbing.
- During Extreme Cold: If temperatures are forecasted to drop significantly, let cold water drip from a faucet served by exposed pipes. The constant movement makes it much harder for water to freeze. Also, opening washroom and kitchen cabinet doors can allow warmer air to circulate around the plumbing.
Heading North? A Guide to Cottage Winterization
Proper cottage winterization is a more involved process because the property is often left unheated for extended periods, making every part of the plumbing system vulnerable. A mistake here can lead to catastrophic damage discovered only in the spring.
- Turn Off the Power: Shut off the breaker for your water pump and your hot water heater. Check your manufacturer’s instructions for the water heater—some require it to be drained completely.
- Shut Off the Main Water Supply: Locate and close the main shut-off valve for the cottage. If your water comes from a lake, you’ll need to bring the pump and any associated piping out of the water to prevent ice damage.
- Drain the Entire System: This is the most critical part. Open every single faucet, tap, and showerhead in the cottage (hot and cold). Flush every toilet to empty the tank and bowl. Use a bucket or sponge to remove any remaining water from the toilet bowl. Don't forget to drain appliances like washing machines and dishwashers.
- Use Plumbing Antifreeze: Once the system is drained, pour a small amount of non-toxic plumbing (RV) antifreeze into every toilet bowl and down every sink, shower, and tub drain to prevent any remaining water in the P-traps from freezing and cracking the drain pipes.
When Prevention Isn't Enough
Even with the best preparation, winter can be unpredictable. If you turn on a faucet and only a trickle comes out, you may have a frozen pipe. If this happens, shut off the main water supply immediately to prevent a flood if the pipe bursts. Never use a blowtorch or open flame to thaw a pipe; a gentle heat source like a hairdryer is much safer.
However, the safest and most effective solution is to call a professional. A burst pipe is a serious situation that requires immediate attention. A licensed plumber can safely thaw your pipes, repair any breaks—even those requiring underground drain replacement and repairs—and help you prevent it from happening again.
Don't let a frozen pipe ruin your winter. If you need help preparing your home for the cold or are facing a plumbing emergency in the Toronto area, contact the experts at Toronto Drains & Waterproofing. We provide reliable, professional service to ensure your home stays safe and dry all season long. Reach out to us today!